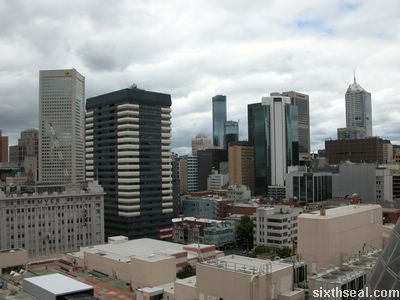
I just arrived back in Melbourne an hour ago, hurting all over. Heh. It
was a very good weekend, I got a lot of runs in and it was snowing every
day too.

It’s snowing!
I actually only skied 2 out of the 3 days I was there, because I
only arrived at 1:30 pm on the first day and couldn’t justify paying for a
full day lift ticket. I just walked around the village and slopes during
the first day because I could only check into YHA at 5 pm.
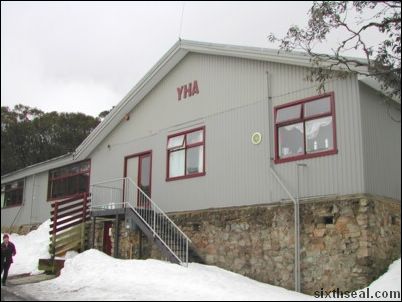
This is where I stayed.
I skied the second day and boarded on the third.

Skiing down Bourke Street.
It was pretty punishing
because I was really out of shape. Loved it though. =D I did a couple of
runs down Bourke Street (a green run) on the first day and then went down
the blue Shakey Knees run. I didn’t know it was a blue run until I was
halfway down, and thought…hey, this is pretty steep. I was enjoying
myself so much, I went into an aggressive alpine crouch to pick up speed
(woo hoo adrenaline rush) and wiped out towards the end in an effort to
avoid a stopped skier. Very nice run, but a bit embarrassing on the lift
up. It was a T-bar lift and I unconsciously sat down on the T-bar and
tipped it (I was riding alone) while it was going up an incline. Bourke
Street seems rather anti-climatic after that.
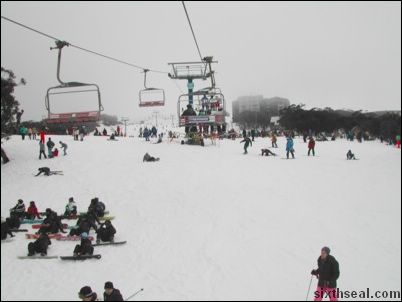
View from Blue Bullet 1 quad chair lift.
I did catch the Quiksilver
GP at night but couldn’t take any photos because it seems that my digicam
does not like snow. I put it into my pants while skiing and forgot to do
up the zip, and as a result, snow got into the pocket and got the digicam
wet. It won’t even start up after that, but after a day of drying out, it
can be started up and the view pictures function is still working and I
can still copy out the pictures, but some buttons seem to be disabled. Doh!
I should have done up my pants zipper but I must have forgotten after
taking it out to snap some photos. (Update – I just tried starting up
my digicam and everything works now. Damn, the Nikon 885 is one tough
motherfucker.)
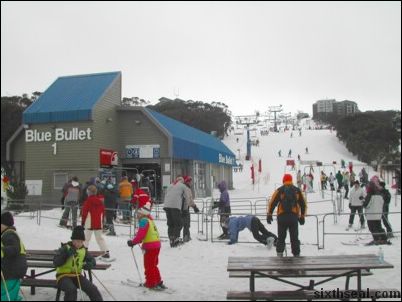
Blue Bullet 1 chair lift area.
Anyway, I got a disposable film camera on the second
day before I went boarding. Oh, one funny thing happened today. I went up
to the blue Summit run even though I’m not that good at boarding. I went
for a regular aligned board even though I’m a goofy on a skateboard. I was
carving up the slopes of the summit when the fog rolled in and I
accidentally went down a wrong run. I saw a black diamond flash past and
stopped near the Howqua black run. I had the choice of taking the Kofler’s
T-bar which goes up a steep incline (I do not like heights), taking a long
trek back up the blue Chute run or try to carve black Hawqua. If you’re
not familiar with the color codes, greens are easy runs, blues are for
intermediates and blacks are for experts only. I’ll rather go down black
diamond Hawqua
than take the T-bar up the steep Chute incline coz it will only take one look
down for me to piss my pants. Heh. The end of Hawqua wasn’t really hard
actually, but there are several hazards, including one steep turn that
only has netting between you and a drop down the slopes. I didn’t do too
good though, coz the powdery snow was pretty hard to navigate with my
board. I accidentally did a hard toe edge brake and started losing my
balance. I had the presence of mind to do an ollie to compensate for the
drift but ended up carving my toe edge straight into the power and I must
have flipped 5 meters and ended up face first in the snow. Oh boy…I
couldn’t stand up for a full minute. Heh. I had the wind knocked out of me
and I felt like I cracked a rib. That’s a nasty way to fall, I
reckon…falling ass first is okay, that’s not painful, but going face
first is pretty horrible. Anyway, that’s it for today. I have to wake up
at 7 am tomorrow for my ITPM group meeting. Stay tuned for Part II
tomorrow. I still have a bunch of pictures that’s not up from the
disposable film camera. I’m going to get it developed tomorrow.
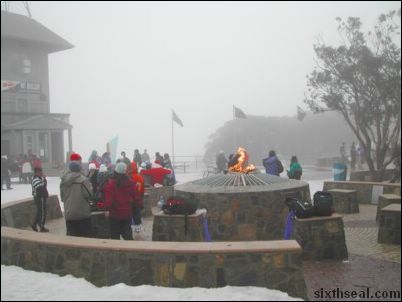
Enjoying the fire in the main village.
Read Mount Buller Part II.