Project Ferrero Rocher Mooncake was initiated to commemorate the Mid Autumn Festival tonight. I haven’t been cooking in a long time and I took advantage of the season to create a dubious sixthseal.com style culinary delight. 😉

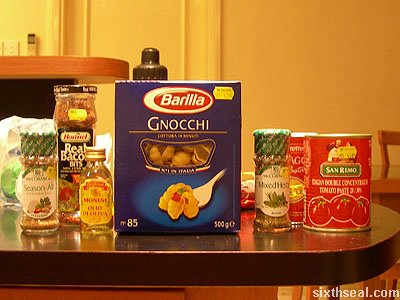
Ferrero Rocher chocolates
Top Gun Exclusive Wine
Dooley’s Original Toffee and Vodka liqueur
Ocean Spray cranberry juice
Golden Circle baby carrots
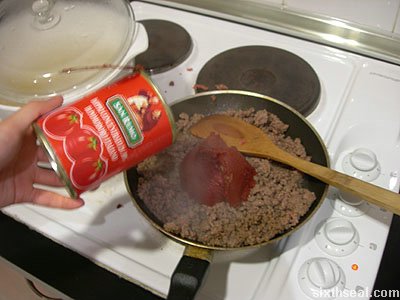
RugenFisch Mackerel Fillets in tomato sauce
Ideal milk (evaporated milk)
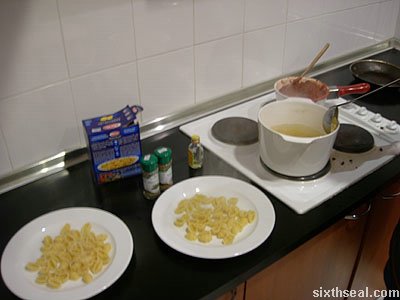
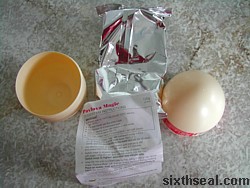
Pudding mooncake premix and molds
You don’t actually need the Ocean Spray cranberry juice, I got that for a friend for her UTI problems. 😉

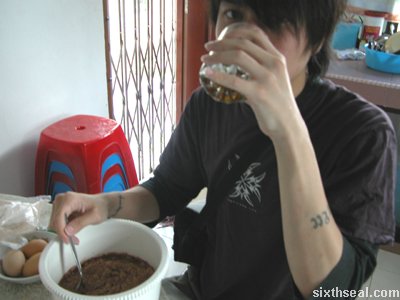
The first step is to pour out several shots of the Dooley’s Original Toffee and Vodka liqueur (RM 120 at respectable bottle shops) for consumption. You will need it for the tedious task ahead. 😉

Next, measure out 300 ml of water for the pudding mixture. The recipe calls for 700 ml but I decided that the remainder should consist of Dooley’s Original Toffee and Vodka for more oomph, so don’t drink too much of that first, start with the wine.

Top up the measuring cup to 700 ml with Dooley’s Original Toffee and Vodka. This will use up more than half of the bottle but fret not – it’s worth it.

Dump the pudding mooncake mixture into a saucepan and put the H2O with ethanol beside it. This is to avoid mistakes during excessive consumption of the latter liquid.

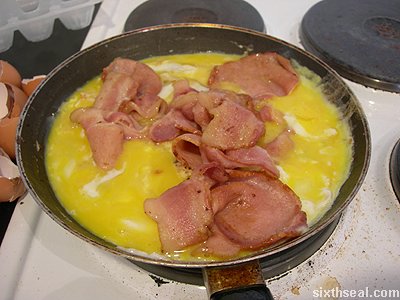
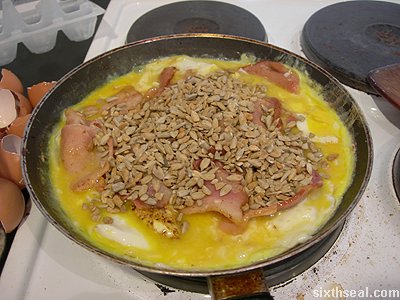
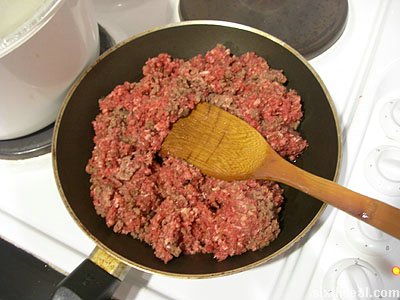
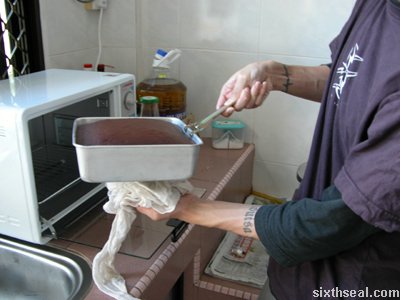
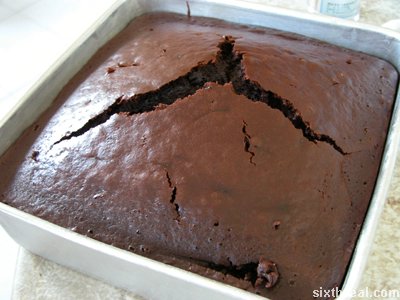
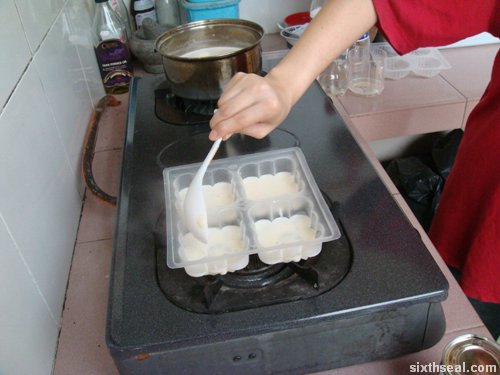
Put the saucepan with the powder in it on low heat on a regular stove and pour the liquid in slowly.

Stir the mixture slowly while keeping it on low heat for about 10 minutes. It is important not to let it burn or “bruise” the mixture by stirring too hard. I’m not sure about the latter statement, the person in charge told me that.

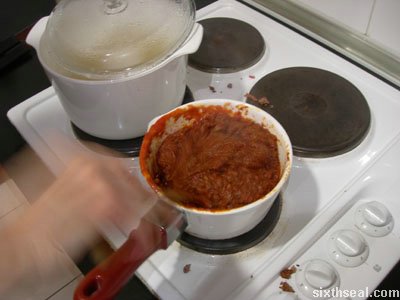
Pour the liquid into the small mold after 10 minutes and let it set for about 15 minutes at room temperature before chucking it into the fridge for an additional 10 minutes.

You’ll know it’s ready if it doesn’t fall out of the mold when you turn it upside down.
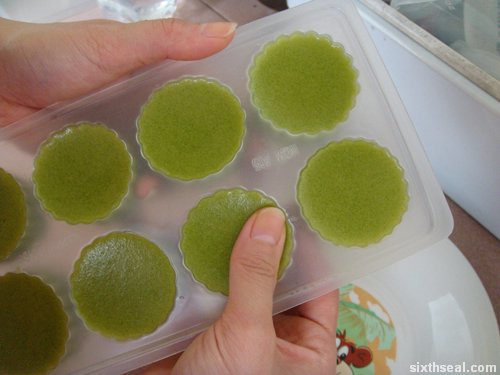
There is a technique to extract the small mooncake without damaging the integrity and aesthetic design which involves massaging the sides, but I never picked up that skill.

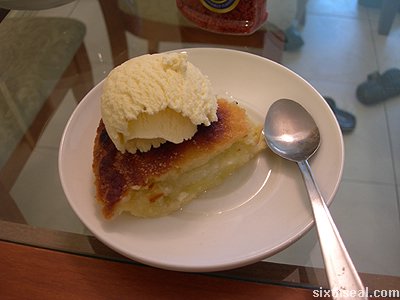
The small mooncake with Dooley’s Original Toffee and Vodka (which is meant to emulate the “egg yolk” in traditional mooncakes) should look like this when it’s done.

The next step involves making the larger mooncake, which uses a different premix that requires Ideal milk (evaporated milk).

250 ml of Ideal milk is added to 400 ml of water and poured into the powdered premix.
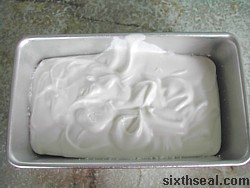
The usual 10 minutes of stirring on low heat is applied before the mixture is scooped into the larger mooncake mold. It is essential to only scoop the liquid to half the mold capacity, as it has to hold the smaller mooncake as the “yolk”.

The smaller Dooley’s Original Toffee and Vodka mooncakes is to be placed into the larger mooncake mold upside down (design facing down).

I took the liberty of adding a Ferrero Rocher chocolate as the “yolk” of one of the mooncakes to make my own variation.

The Ferrero Rocher chocolate is surprisingly resilient…it doesn’t even melt in the boiling hot temperature of the liquid pudding.

It’s much better than M&Ms – melts in your mouth, not on the stove. It’s amazing!
The larger mooncake mold is then filled to the brim and left to set in the fridge for a full 30 minutes.

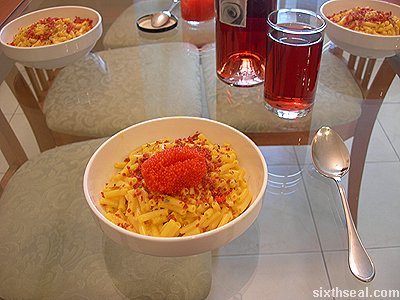
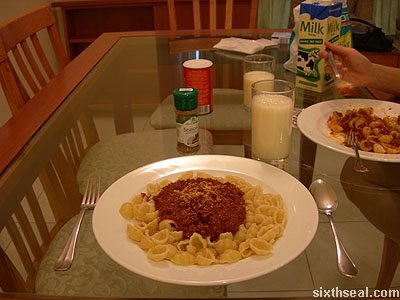
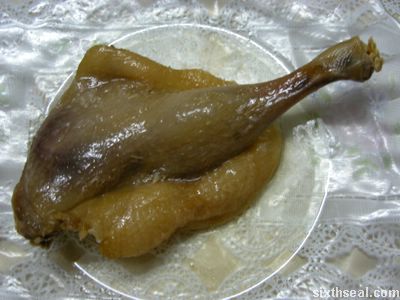
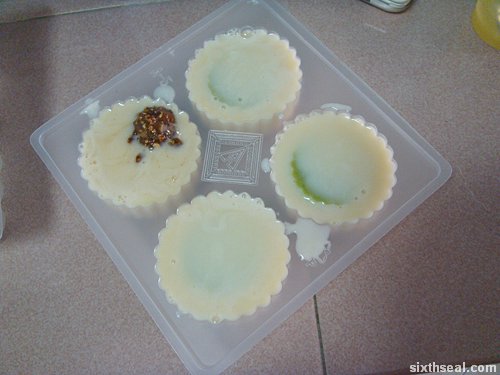
Once that’s done, extract the Ferrero Rocher mooncake from its mold and place it on a plate. Garnish with baby carrots and the mackerel fillets in tomato sauce.

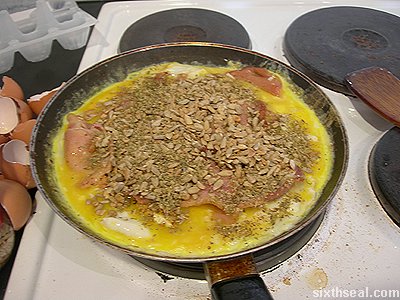
This is the “balls of fire” bit to the recipe – mixing in salty and spicy elements to the dish…and the alcohol (Dooley’s Toffee and Vodka) of course. Serve with wine for a complete meal.

Bon Appetit!
Happy Mid Autumn Festival everyone! 🙂
 Green apple
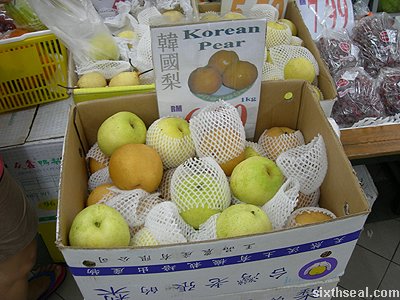 Pear
Pear
 Bitter gourd
 Broccoli
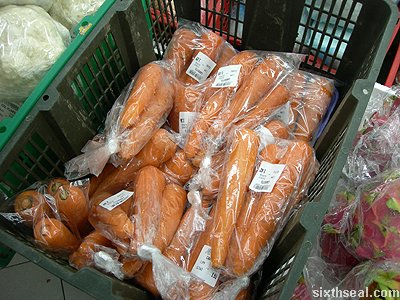 Carrot
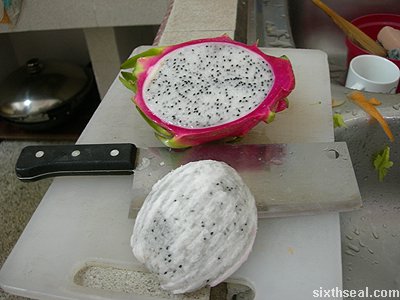
 Dragon Fruit
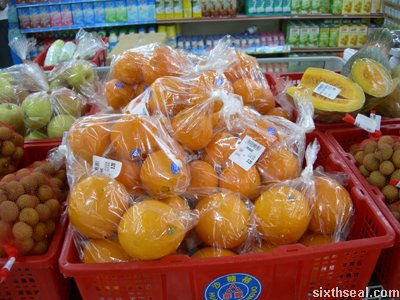
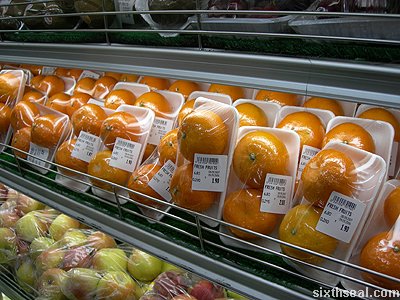 Oranges
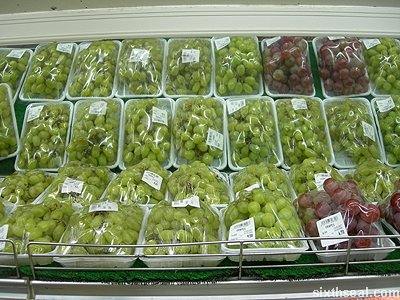 Grapes
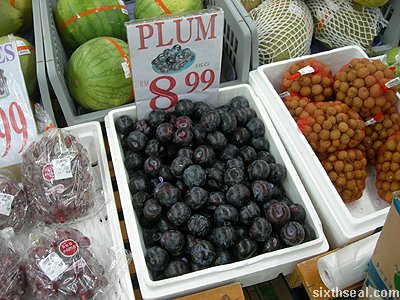 Plums
Plums
 Banana
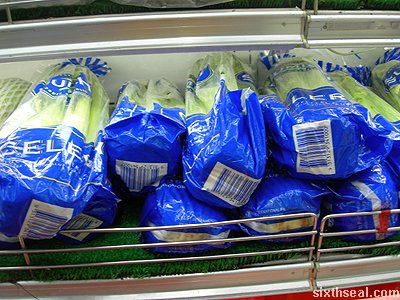 Celery
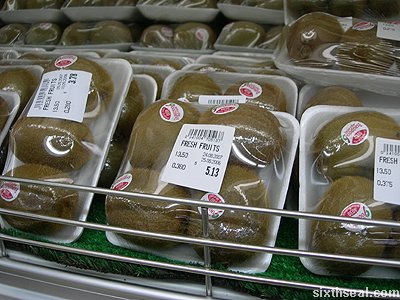 Kiwi fruit
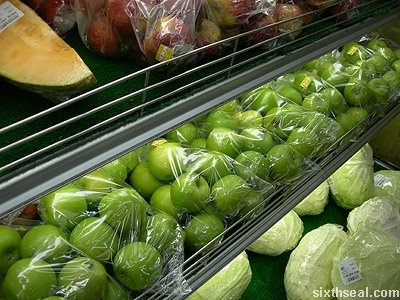
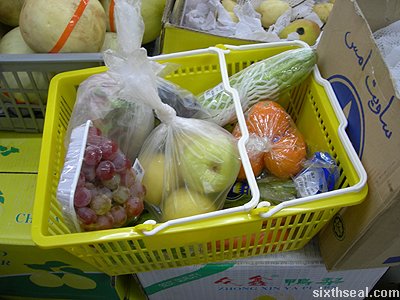 I went grocery shopping with my mom and bought the vegetables and fruits for about RM 50. That’s a lot of quasi V8 juice. 🙂
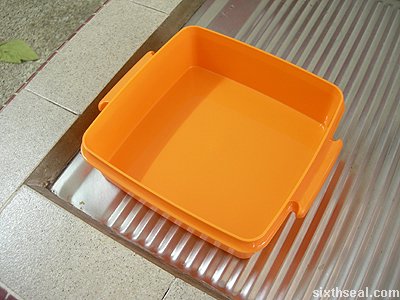 One plastic receptacle was used to store the sliced and diced fruits and vegetables before going into the blender.
 The fruits and vegetables were prepared and put into the awaiting receptacle.
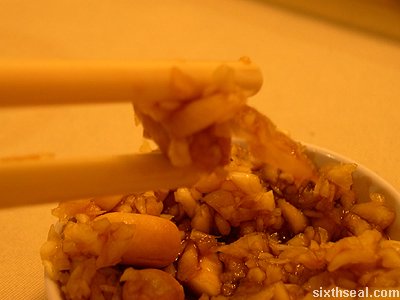
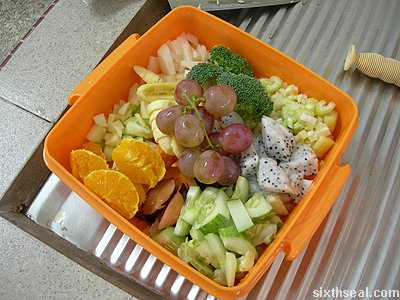 This is what it looks like when it’s done – there are 12 different items in there!
 The blender (it’s a juicer I found Googling for
 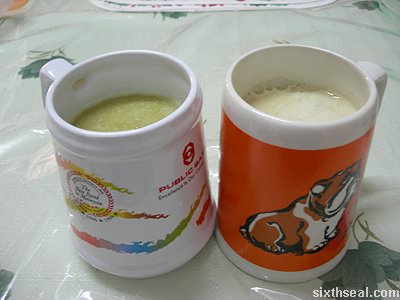 To my surprise, the blender only had enough juice for two mugs. The one on the left is the original one (which tastes great and healthy) and the mug on the right is added with milk. It also goes surprisingly well with milk.
I shall go forth and find zanier and zanier ingredients to put into our juicer coz it’s fun!]]>
To my surprise, the blender only had enough juice for two mugs. The one on the left is the original one (which tastes great and healthy) and the mug on the right is added with milk. It also goes surprisingly well with milk.
I shall go forth and find zanier and zanier ingredients to put into our juicer coz it’s fun!]]>