This is a quick and easy breakfast that’s really fast to bang up in the morning. It’s nice to eat rice for breakfast sometimes and I’ve grown to love this dish – I’ve been making variations of this for the past month. It only takes 15 minutes to cook – the exact time it takes for a rice cooker to do its job. 🙂
You will need:
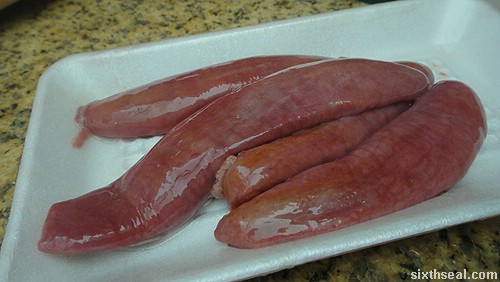
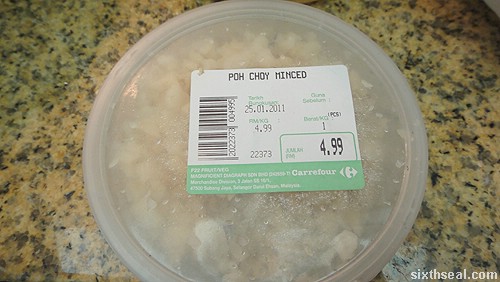
Kwe Hua preserved meat
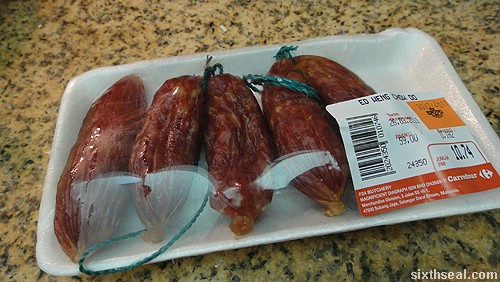
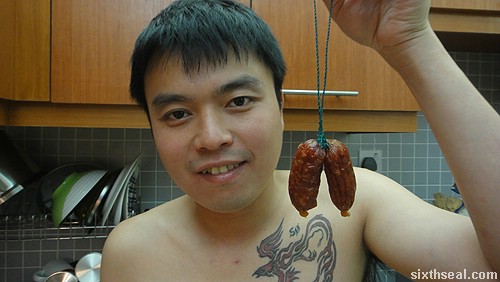
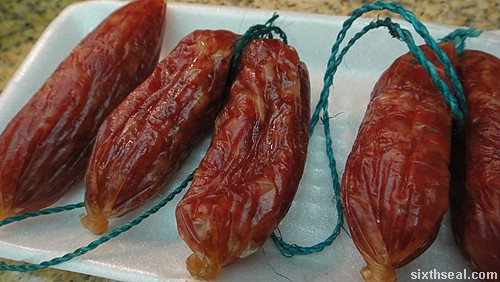
Lap cheong (waxed Chinese sausages)
Century eggs
Pickled diced daikon (chai bo)
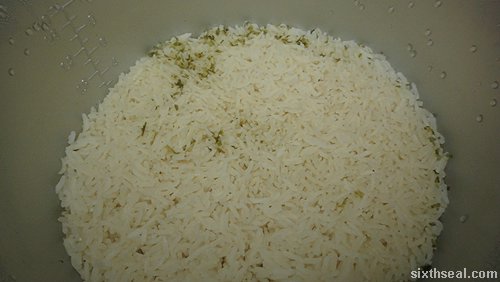
Rice
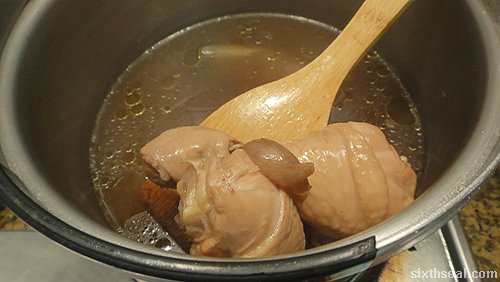
The best thing about this recipe is that you cook the meat inside the rice cooker so there’s no additional pots or pans to wash up. Heh!
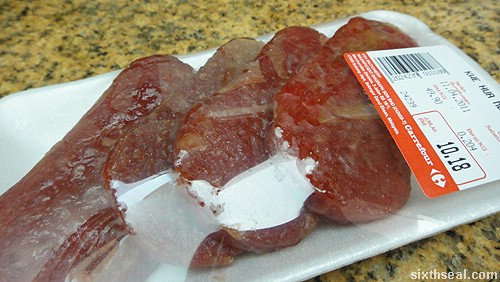
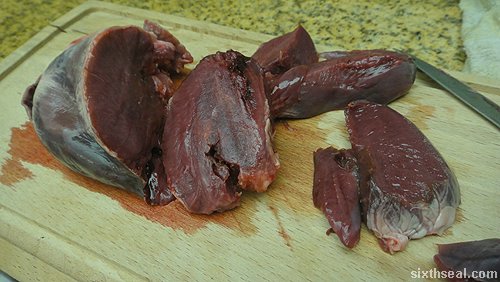
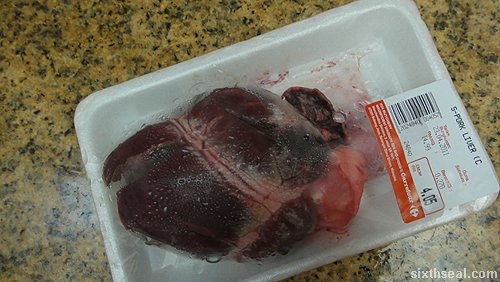
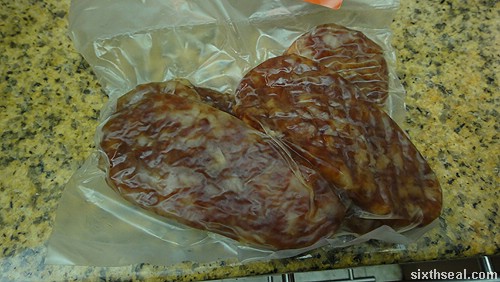
Kwe Hua waxed meat is a preserved meat sold in slabs. It’s usually found in the waxed meat section of your friendly neighborhood hypermarket. It costs about RM 2.50 or so per piece. It’s even more expensive than some imported fresh meat. I can’t figure out why yet, but I can’t argue with the taste – it’s absolutely delicious. Waxed meat is the yums. It’s sweet and has a smoky flavor.
Preserved meats has an intense flavor and taste – it’s not the off-putting kind of intense, it’s the concentrated kind of intense, the essence of meat and spices distilled into one helluva package. 😀
I have also added some vegetables into this breakfast – it’s the only one I really like – chai bo. Chai bo is called coi pou in Cantonese and it’s picked diced daikon (Oriental radish).

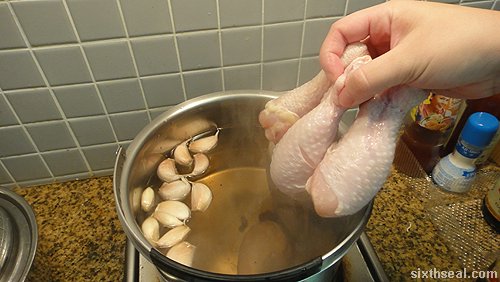
I started off by preparing the lap cheong (Chinese sausages) – it takes a bit of time to peel the things. Lap cheong is wrapped with waxed paper – the easiest way to take it off is to snip off the twist at the top and peel downwards. Once that is done, you can start measuring out the rice and cooking it.
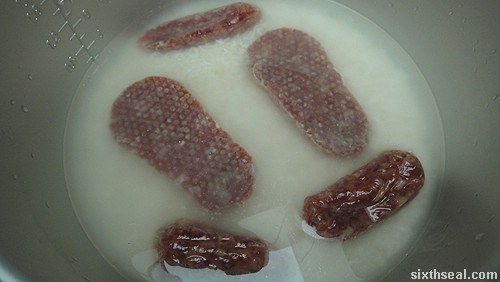
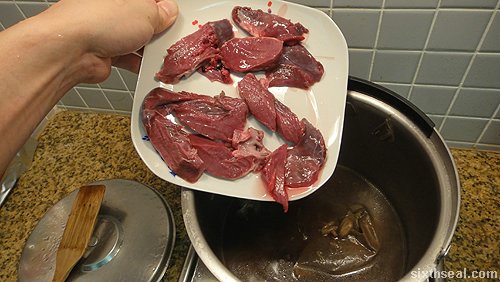
Generally, one measure of rice equals to one bowl of rice. Each measure of rice should be accompanied by an equal amount of water e.g. one scoop of rice requires one scoop of water in the rice cooker. Put the rice and water in the rice cooker and add the Kwe Hua meat and lap cheong. Do not add additional water!
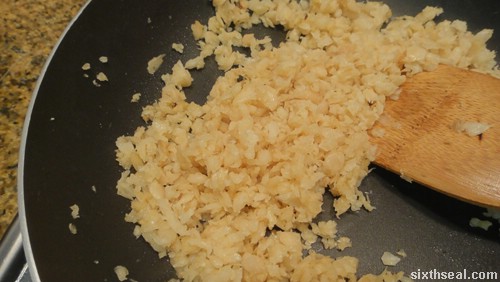
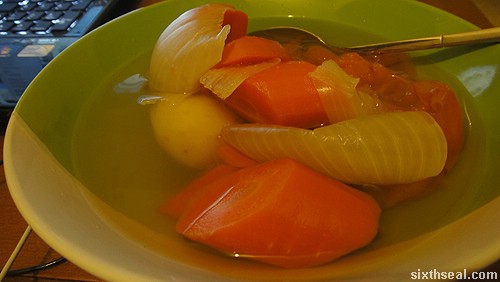
Once you’ve pressed the cook button on the rice cooker, it’s time to fry the chai bo. It’s a very quick affair – just heat up some olive oil in a frying pan and dump in the chai bo. I like my chai bo to be sweet so I added a lot of brown sugar to it. My recipe calls for half the amount of sugar to chai bo ratio.
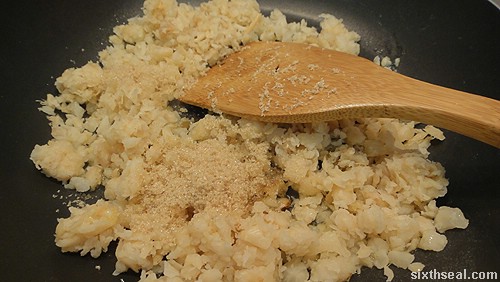
I know that sounds a bit excessive but chai bo is extremely salty. I forgot to soak the chai bo in water beforehand – it’ll be easier to work with if you do that. The sugar caramelizes with the oil and adds that umami taste to the chai bo. I didn’t put any extras into it – I like my chai bo unadulterated. 🙂

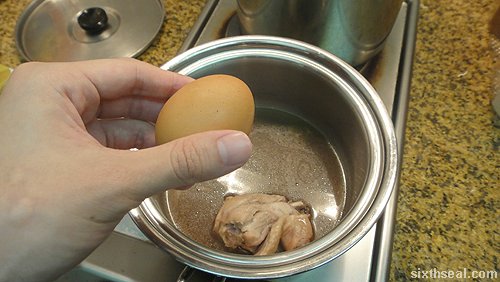
I found these new century eggs while grocery shopping one day – they don’t have a coating of mud and rice husk – it’s just covered with wax.
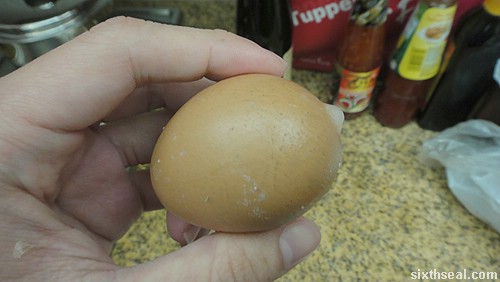
No, it’s not a fake egg – it’s just not made in the traditional way but with modern methods which produces the same results by alkali and sodium infusion (which is really what the traditional recipe does anyway).
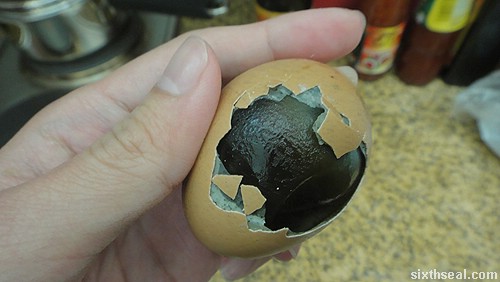
It’s MUCH easier to peel – it’s just like cracking a hard boiled egg, you don’t have to worry about accidentally squashing the egg when you open it (the egg doesn’t stick to the shell) and as a bonus it won’t produce a mess.
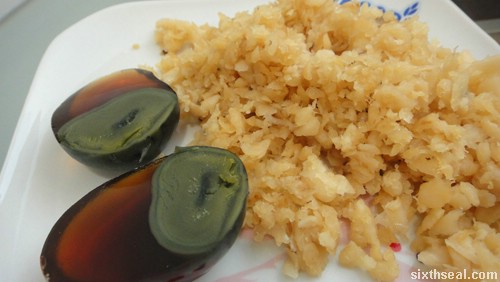
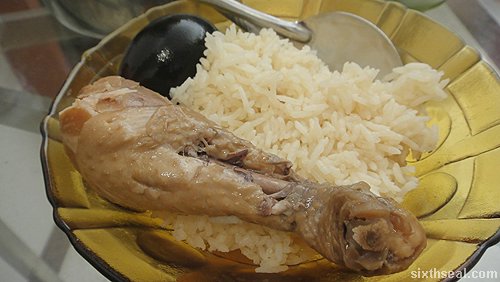
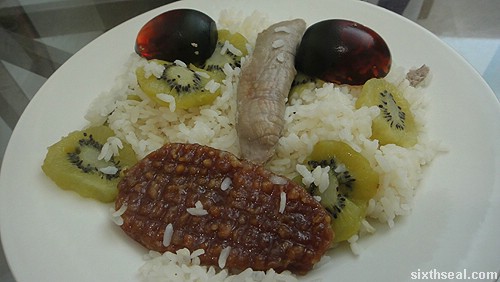
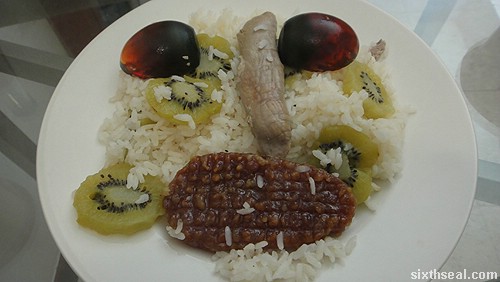
Crack open a century egg and slice it in half. Serve the chai bo with the century eggs as a side dish.

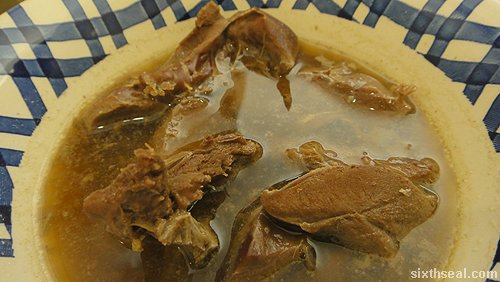
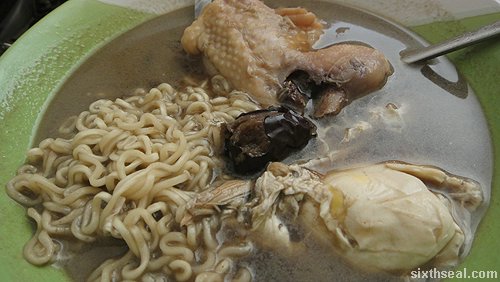
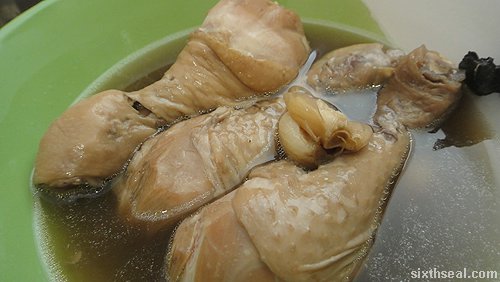
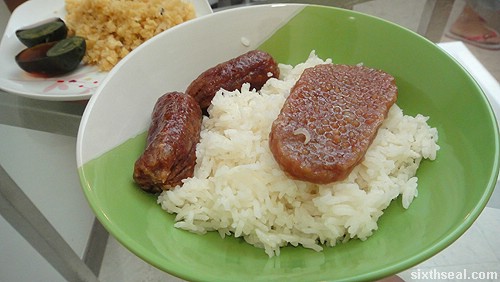
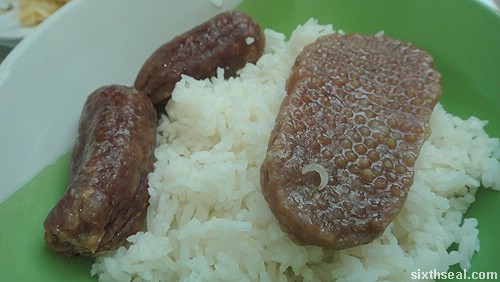
The rice with the Kwe Hua preserved meat and lap cheong should be done by now. Open up the rice cooker and marvel at the wonder that you’ve just created. Heh! It tastes great when paired with the chai bo and century egg.
Anyway, if you haven’t already noticed, this breakfast is full of unhealthy items – everything from the meat, vegetables and egg are preserved. It is REALLY high in sodium so if you have a condition e.g. high blood pressure, it might not be a good idea to partake. You’ll need to drink tons of water for the thirst afterwards. It is very delicious though!
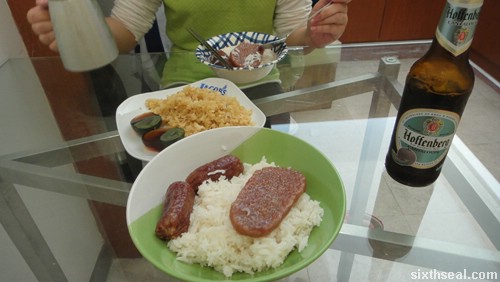
I think this non-alcoholic cantaloupe beer with hops and malt might be the healthiest component of our breakfast.